Pages

Thursday, September 29, 2011

Hummingbird Cupcakes with Honey Cream Cheese Frosting

I made these for an end of summer family bbq! They are denser than most cupcakes (at least mine were anyway). More like a quick bread I think, but delicious none-the-less! As to why they're called hummingbird cupcakes, I really can't tell you! They're made with pineapple, banana, coconut and carrot. Plus I added honey cream cheese frosting. My thinking is the sweet scent plus the colors of the fruit are reminiscent of what attracts hummingbirds? Who knows! It worked for the guests at the party! ;o)

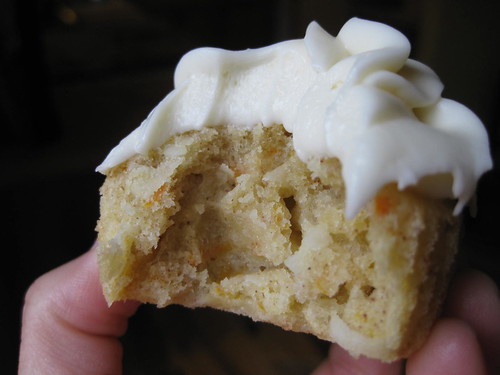
Hummingbird cupcake insides

Hummingbird Cupcakes with Honey Creamcheese Frosting
Adapted from 500 Cupcakes and Sprinkle Bakes

Yield 12 cupcakes 

For the cupcakes
1 1/4 cup all-purpose flour
1 teaspoon baking powder
1/2 teaspoon cinnamon
3/4 cup superfine sugar
1/2 cup safflower oil
2 eggs
1/2 cup (2 medium) mashed bananas
1 1/2 tablespoon grated orange zest
1/2 cup shredded carrot
1/2 cup crushed, drained pineapple
1/2 cup flaked coconut
  1. Preheat oven to 350 and place paper liners in cupcake pan
  2. In a medium bowl, sift together the flour, baking powder and cinnamon and set aside
  3. In a large bowl with electric mixer or stand mixer, cream the sugar and oil together until light and fluffy
  4. Beat in the eggs slowly
  5. Slowly add the dry ingredients and mix until combined
  6. Add the remaining ingredients and mix until combined
  7. Spoon the batter into the prepared baking pan and bake about 25 minutes
  8. Allow to cool in pan on wire rack for 5 minutes before removing cupcakes to wire rack to cool
For the frosting
8 oz. package cream cheese, room temperature
1 stick of butter, softened
1/4 cup clover honey
3-4 cups confectioners' sugar
  1. Place cream cheese, butter and honey in the bowl of a stand mixer and beat until combined
  2. Gradually add in confectioners' sugar, mixing until it is spreading consistency.  
  3. If frosting is too thin, place in refrigerator until firm enough to spread
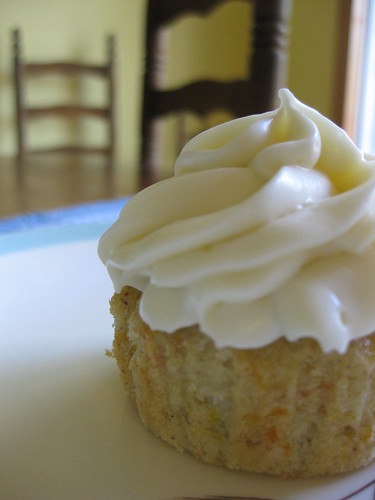
Unwrapped hummingbird cupcake
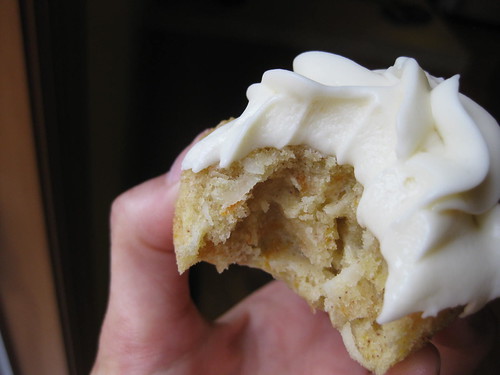
Hummingbird cupcake bite

Friday, September 16, 2011

Espresso Cheesecake Brownies

I'm a fan of coffee and chocolate. I usually steer clear of coffee flavored desserts because there will always be people who just don't drink coffee so they refuse to even taste the dessert I worked so hard on. And that makes me sad. It's good, dammit! But on this occasion I knew I was heading to a party of coffee lovers!

Brownie and espresso cheescake layers

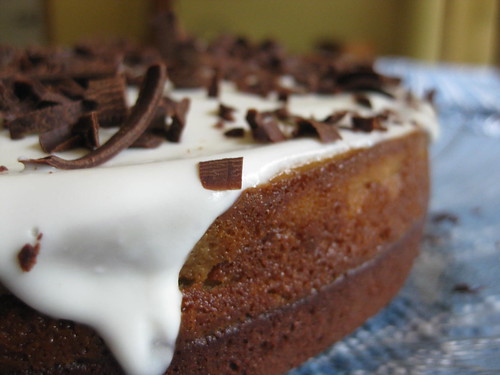
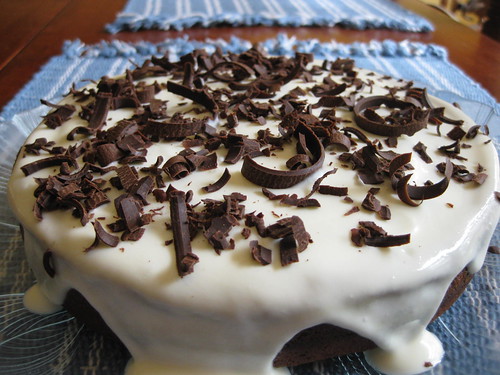
I find if I make the brownie portion first, it just gets thicker as it cools and then it's impossible to swirl with the cheesecake portion! So I recommend making the cheesecake portion first and popping it in the fridge while you make the brownies. :oD I made these in an 8 inch round cake pan. The recipe is originally made for a 9 inch square pan but I used most of the batter. And I think the round pan makes a really impressive presentation.

Also, Ghirardelli makes a dark chocolate espresso bar that they sell in supermarkets! If you can find it I highly recommend you use it, but you can use any dark chocolate really.

Espresso Cheesecake Brownies
Adapted from Life in a Peanut Shell

For the cheesecake

1 1/2 teaspoons instant espresso powder dissolved in 1 tablespoon boiling water (I use Starbucks VIA, awesome stuff, and handy when the power was out)
8 ounces cream cheese, at room temperature
2/3 cup sugar
1/2 teaspoon vanilla extract
2 large eggs
1/4 cup sour cream
1 tablespoon all-purpose flour

For the brownies


1/2 cup all purpose flour
1/4 teaspoon baking powder
pinch of salt
5 tablespoons unsalted butter, cut into cubes
4 ounces dark chocolate (around 60% cocoa0) (Note: The Ghirardelli bars I mentioned are 3.5 oz. I bought 2 and broke a little bit off the second bar for the brownies, then saved the rest for garnish...and to eat!)
1/3 cup sugar
2 large eggs
1/2 teaspoon vanilla extract

For the topping

1 1/4 cups sour cream
1/2 cups confectioners' sugar
  1. Preheat the oven to 350 and coat your pan with cooking spay.
Make the cheesecake
  1. Allow the espresso to cool to tepid.
  2. With a stand mixer fitted with the paddle, beat the cream cheese on medium until it's completely smooth.
  3. Add the sugar and continue to beat for 3 minutes more.
  4. Beat in the vanilla and espresso
  5. Add the eggs one at a time
  6. Reduce the speed to low and add the sour cream
  7. Slowly add the flour. Mixture should be very smooth.
  8. cffffffffffffffffffffffffffffffffffffffffffffffff (My rabbit Lillie added step 8 here by stomping on my lap top... I don't know what she's trying to say)
  9. Anyway, place the cheesecake batter in the fridge while you make the brownies
Make the brownies
  1. Whisk together the flour, baking powder and salt.
  2. Melt the butter and chocolate together over a double boiler with water simmering.
  3. Transfer to a stand mixer and add the eggs one at a time, beating after each addition.
  4. Beat in the vanilla.
  5. Gently stir in the dry ingredients just until they are combined, be careful not to over-mix.
Assemble!
  1. Pour about 3/4 of the brownie mixture into the prepared pan.
  2. Smooth it out, then pour the cheesecake layer over the top, taking care to make it even.
  3. Place spoonfuls of the rest of the brownie batter on top, and use a knife to swirl the dark and light batters together.
  4. Bake for around 30 minutes. The brownies should come away from the sides of the pan. The cheesecake will puff and turn lightly browned around the edges.
  5. Transfer the pan to a wire rack to cool.
  6. Once it reaches room temperature, refrigerate for at least 2 hours, until well chilled.
Make the topping

1 1/4 cups sour cream
1/2 cups confectioners' sugar
  1. Warm the sour cream and sugar in a small saucepan over very low heat.
  2. Stir constantly until the sugar is dissolved.
  3. Pour over the chilled brownies, then return them to the refrigerator and chill for at least another hour.
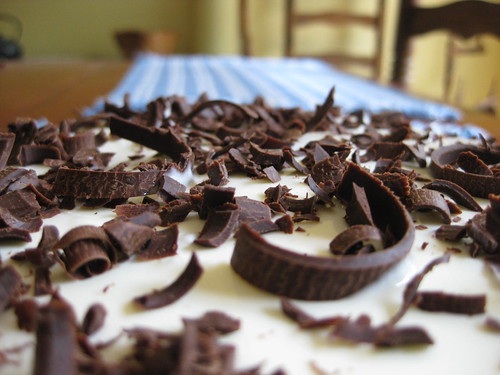
  4. To garnish with chocolate curls, let the chocolate set at room temperature (or under a light to warm up if it's very cold) and use a vegetable peeler to shave the edges off the chocolate
Espresso cheescake brownies

Espresso chocolate "curls"

Sunday, September 11, 2011

Eggless Lemon Ice Cream

Whatever September, tell me when fall really gets here, I'm still making ice cream.

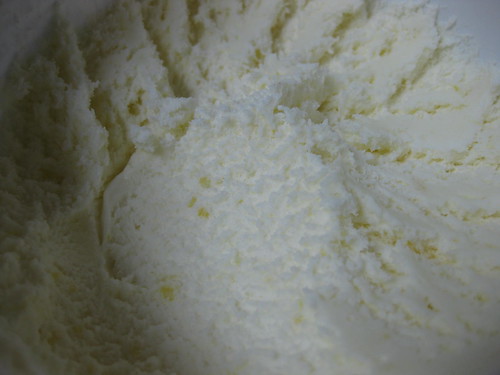
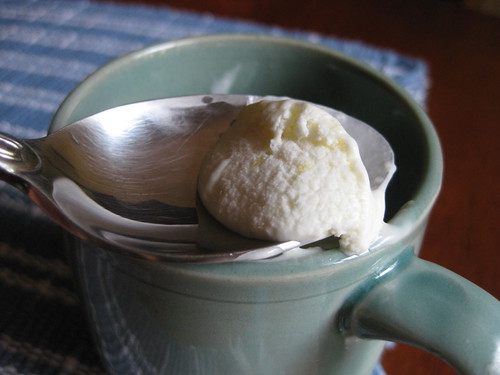
Lemon ice cream

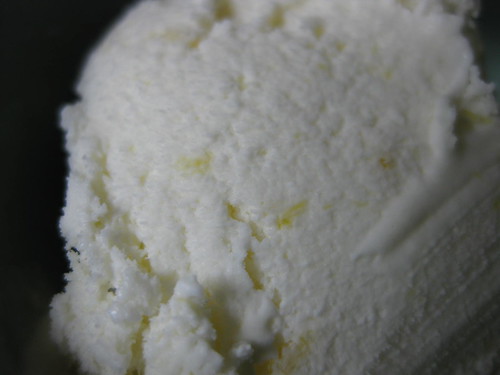
This is eggless lemon ice cream and it's ridiculous easy and quick because you don't have to heat the cream. I found it odd the recipe I followed instructs you to place it in the fridge after the sugar dissolves to let it cool down... My heavy cream just came out of the fridge...in fact that's the only way to keep heavy cream I understand... So maybe I missed something, but even if I did this came out great!

(Eggless) Lemon Ice Cream
Adapted from C&C Cakery

2 cups of whipping/heavy cream
1 cup of sugar
2 lemons worth of zest (about 1/4 cup)
4 lemons worth of juice (about 1/2 cup)
  1. In a metal bowl, combine the cream and sugar.
  2. Using a hand mixer on low, slowly dissolve the sugar (don't actually whip the cream, use a wire whisk if you have to instead)
  3. Add zest and lemon juice while whisking slowly.
  4. Process in an ice cream maker according to manufacturers instructions OR use this method if you don't have an ice cream maker!
Lemon icecream

Eggless lemon ice cream

Sunday, September 4, 2011

Salted Caramel Brownies (of Doom!)

Hello friends! I feel like I haven't blogged in awhile but I have an excuse! We lost our power due to hurricane Irene last Sunday, and it didn't come back until this past Friday night! But the good news is it's back. Losing power was the worst we had though, others were not so lucky and hopefully will continue to dry out and bounce back slowly but surely!

So now that power and internet are back, I can share my lovely salted caramel brownies with you! I seem to have a lot of advice to dispense for these. I also added my own notes in italics to the recipe instructions where I deviated from the original.
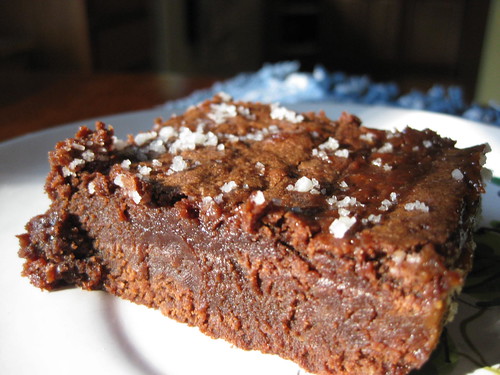
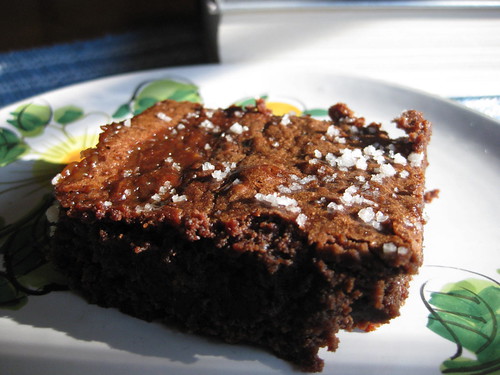
Salted caramel brownie

First, they're made with fancy schmancy fleur de sel. Which I purchased from (one of) my favorite store ever, Savory Spice Shop! But really...you can use any sea salt...it is mixed into the caramel, but it's also used as an edible garnish on top which is nice because it won't dissolve into the brownie. So don't go crazy looking for it, my advice is that it's not critical!

Also, if you have never made caramel before, READ THIS!!!! This was my first time making caramel from heating sugar and I totally smoked out my kitchen and burned the first batch to hell. That's why I refer to them as brownies of doom, because it was horrific! Unlike the fler de sel, this advice is critical!

The recipe I followed and others I've looked at advise to heat the sugar to a certain temperature using a candy thermometer. Ignore that! Use your eye to watch the color carefully! When sugar is light khaki TAKE IT OFF THE HEAT! It will continue to cook and darken QUICKLY. Let "settle" before pouring cream in it, because it will bubble up like crazy at that point! Also when pouring the cream, whisk like you've never whisked before. Make sure you set the pot somewhere stable and be EXTREMELY, SUPER careful of drips because you will get scalded badly. If it drips on your counter or stove, let it cool and harden, this dissolve it off. Please follow this advice and stay safe out there!

Salted Caramel Brownies
From Divine Baking

For the filling
1 cup sugar
2 tablespoons light corn syrup
1/4 cup water
1/2 cup heavy cream
1 teaspoon Fleur de Sel (or any coarse sea salt)
1/4 cup sour cream

For the brownies
1 1/4 cups all-purpose flour
1 teaspoon salt
2 tablespoons dark unsweetened cocoa powder
11 ounces quality dark chocolate (60 to 72%), coarsely chopped
1 cup unsalted butter, cut into 1-inch cubes
1 1/2 cups sugar
1/2 cup firmly packed light brown sugar
5 large eggs, at room temperature
2 teaspoons vanilla extract
1 1/2 teaspoons Fluer de Sel
1 teaspoon coarse sanding sugar (optional, for garnish)

Make the caramel of doom
  1. Combine the sugar and corn syrup with 1/4 cup of water in a medium saucepan, stirring carefully so as not to splash the sides of the pan.
  2. Cook over high heat until the mixture is the color of khaki or light amber.
    Lighter than this, but close:
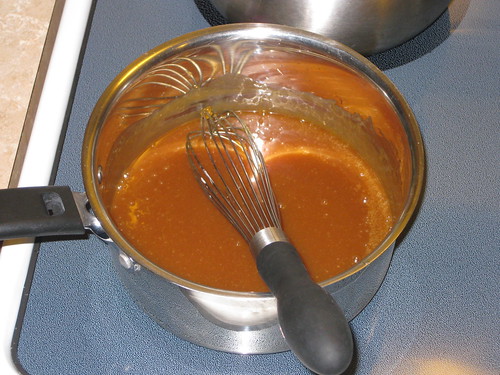
    Caramel of doom
  3. Remove from the heat instantly and let the bubbling settle.
  4. Slowly add the cream while whisking
  5. Add the fleur de Sel.
  6. Whisk in the sour cream and set aside to cool.
Make the brownies
  1. Preheat oven to 350
  2. Butter or use cooking spray to coat the sides and bottom of a glass or light colored metal 9 x 13 inch pan.
  3. Line the bottom with a sheet of parchment paper, and butter or use cooking spray to coast the parchment.
  4. In a medium bowl, whisk together the flour, salt and cocoa powder and set aside
  5. Place the chocolate and butter in the bowl of the double boiler set over a pan of simmering water, and stir occasionally until the chocolate and butter are completely melted and combined.
    (Note: I do own a double boiler, but after melting the butter and chocolate, you will be adding the sugars, eggs, etc. So I set the bowl of my stand mixer over a bowl of water and melt the butter and chocolate directly in there. Set up looks like this. Then transfer the bowl to the mixer, instead of melting them in a separate pot and scraping into another bowl. I feel it saves me time and a dish to clean.) :oD

  6. Turn off the heat, but keep the bowl over the water of the double boiler, and add both sugars. Note: Whatever...at this point I put it on my mixer. Whisk until completely combined and remove the bowl from the pan. The mixture should be at room temperature at this point.
  7. Add three eggs to the chocolate mixture and whisk until just combined.
  8. Add the remaining two eggs and whisk until just combined.
  9. Add the vanilla and stir until just combined, be careful not to over-beat.
  10. Add the flour mixture to the chocolate mixture. And beat until there is a just a trace amount of the flour mixture visible.
  11. To assemble the brownie, pour half of the brownie mixture into the pan and smooth the top with a spatula.
  12. Drizzle about 3/4 cup of the caramel sauce over the brownie layer in a zigzag pattern, taking care to make sure the caramel does not come in contact with the edges of the pan or it will burn. Note: I found it impossible to keep the caramel from touching the edges, I used a glass pan, it didn't burn, it was fine, I don't know if this hold true for a metal pan though.
  13. Spread the caramel evenly across the brownie layer.
  14. In heaping spoonfuls, scoop the rest of the brownie batter over the caramel layer. Smooth the brownie batter gently to cover the caramel layer as best you can.
  15. Bake the brownies for 30 minutes, rotating the pan halfway through the baking time. Brownies are done when a toothpick inserted into the center comes out almost clean.
  16. Remove the brownies from the oven and sprinkle with an extra 1 1/2 teaspoons Fleur de Sel and 1 teaspoon coarse sugar.
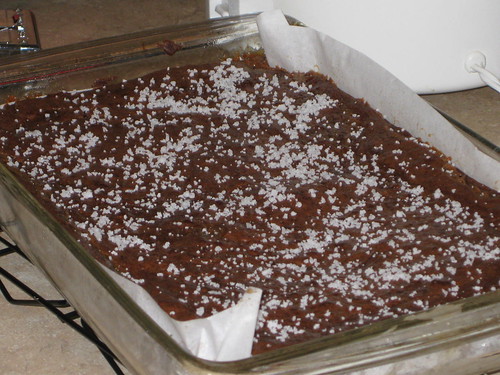
Fluer de sel = fancy french sea salt...tastes like salt...

Salted caramel brownie
Related Posts with Thumbnails