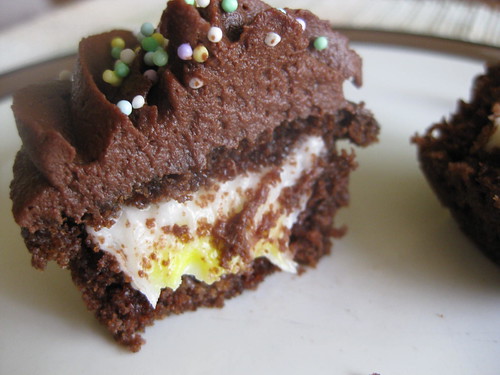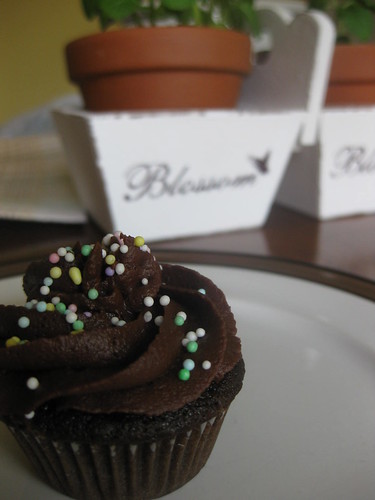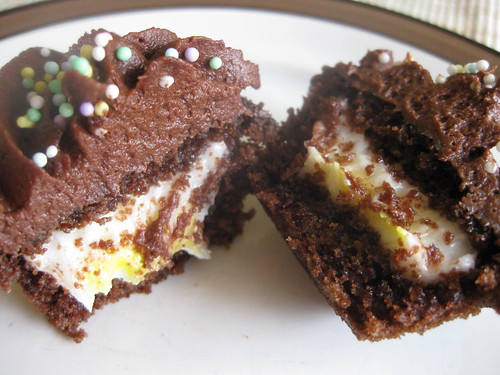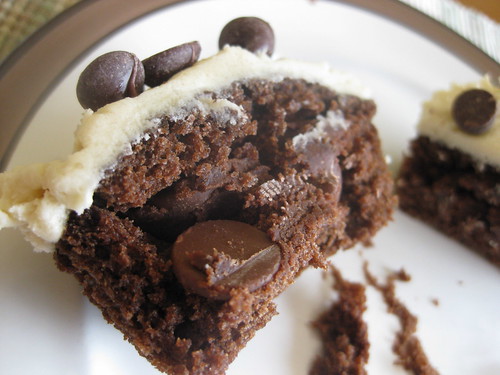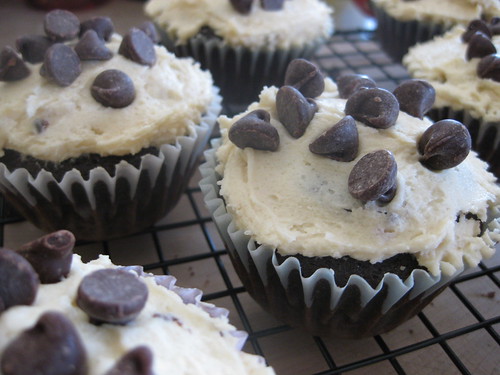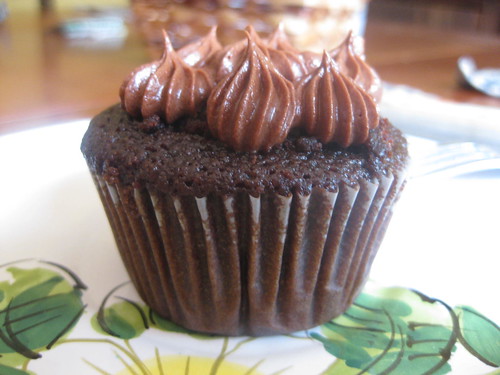
Btw, this is my favorite chocolate cupcake recipe ever, it comes out excellent every time. As for the marshmallow recipe, the marshmallow filling came out well, but I found the directions for the ganache frosting a little...sparse... I didn't understand it had to completely cool or chill before it could be whipped, and I ended up wasting it, it never firmed up. No worries though! I fell back on my favorite chocolate buttercream recipe and piped it on in little dots since I was afraid I would run low. Everyone thought that was super fancy and cute apparently, so I'll definitely do it again!
Marshmallow Chocolate Cupcakes
Makes 24 standard sized cupcakes
For the chocolate cupcakes
Adapted from Ming Makes Cupcakes
1 teaspoon baking soda
1/2 cup buttermilk
6 heaping tablespoons cocoa
2 sticks butter
1 cup water
2 cups sugar
2 cups all-purpose flour
1/2 teaspoon salt
2 eggs
1 teaspoon vanilla
- Preheat oven to 350 and place paper cupcake liners in pan.
- In a small bowl, dissolve baking soda in room-temperature buttermilk.
- In a saucepan, melt butter and cocoa together at a low temperature. Whisking until smooth.
- Add water and whisk to combine.
- In a separate bowl, whisk together sugar, flour, and salt.
- Add cocoa mixture and egg and mix at low speed.
- Add buttermilk mixture and vanilla and beat until smooth.
- Bake for 20 minutes or until inserted toothpick comes out clean
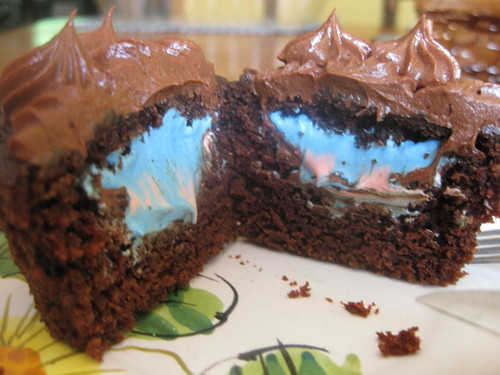
For the marshmallow filling
From Swanky Pear
1 - 7 oz container marshmallow cream
1/2 cup softened butter
1/3 cup powdered sugar
1 tablespoon water
1/4 teaspoon salt
- Combine marshmallow cream and butter. Beat together until smooth
- Add water and salt
- Slowly add powdered sugar and beat until creamy
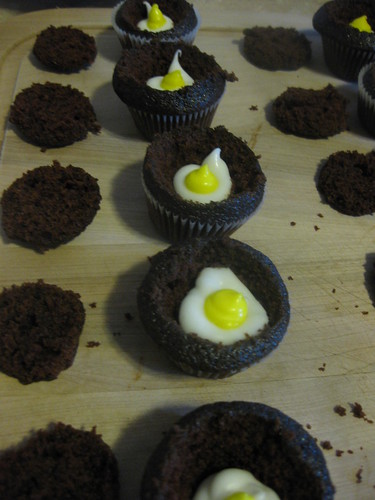
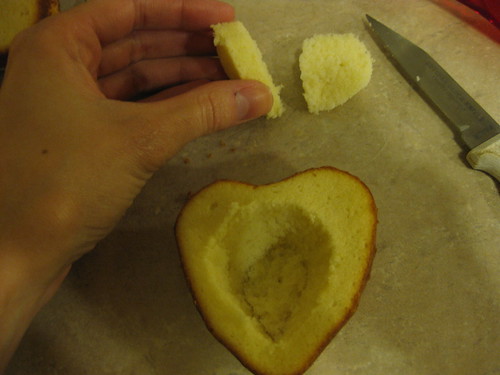
When cupcakes have completely cooled, cut out a "cone" from the center of the cupcake. Cut of the bottom of the "cone" and keep the "hat." Spoon a bit of the cookie dough filling into the cupcake and replace the hat. Some nice photos of this method can be found in this post for boston cream cupcakes.
For the frosting
From Cooks.com
6 tablespoons butter
1 cup powdered sugar
4 tablespoons cocoa
2 to 3 tablespoons milk
- Cream the butter.
- Combine the sugar and cocoa.
- Slowly add the sugar and cocoa mixture to the butter and continue beating
- Add milk one tablespoon at a time to thin frosting if necessary